Ultraviolet photography might seem complex, but it’s a piece of cake if you have the proper UV lamp. These tricks using proper setup and camera settings will make taking great UV photos easy.
Getting the proper UV lamp
To get really nice UV shots, a properly working UV lamp is a must. To get real UV you need some kind of exploration UV lamp with high quality filter removing most of visible light. Most lamps have two modes – for UV B (315 – 280 nm) and UV C (280 – 200 nm). Unfortunately, finding an affordable supplier is not easy: in general almost all of the cheap eBay merchandise doesn’t work: these lamps produce a huge amount of visible light which will damage the quality of your picture. Also, most of these lamps barely reaches longvawe UV A (400 – 315 nm), which is not enough to produce fluorescence in most minerals. Lamps like these can be used only for bank notes or highly fluorescent uranium minerals. I highly recommend quality Raytech portable UV lamp for aprox. $130 – it is well worth the money! You can also use it with both AC adapter and AA batteries as portable lamp while searching for UV fluorescent minerals in field.
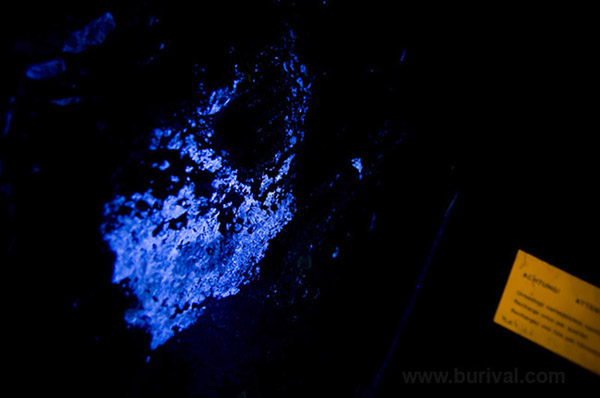
Brightly glowing scheelite in UV light in the Kristina Adid in Kasperske Hory deposit, Czech republic. Scheelite is detected with portable exploration UV lamp.
Avoiding unhealthy effects of hard UV
As you probably know, UV light is not very healthy. Prolonged exposure may seriously irritate your skin and eyes. Shortwave types of UV also produce poisonous ozone. Ozone can be recognized by its typically faint acrid smell that can also be tasted. Longer UV sessions should always be conducted in well-ventilated places, which should always be aired for a few minutes when you have finished.
NEVER aim the UV lamp at yourself, most especially at your face. Short exposure is not a problem but longer exposure can easily produce serious sunburn or damage to the eyes. Although normal glasses are UV resistant, it is good idea to wear safety googles with UV filters as well.
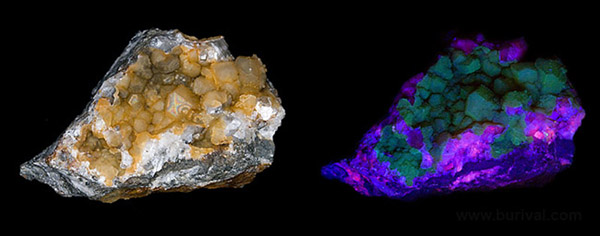
Calcite (pink fluorescence) covered by chalcedony (green fluorescence) from Vlastejovice, Czech republic. Left photo in visible light and right photo in UV light.
Problems with dust
We all say that dust is everywhere, but we don’t realize how true that is until we see it glowing brightly in the light of our new UV lamp. Specimen and backdrop alike must be thoroughly cleaned before UV photography can begin. Although simply blowing the dust off with your mouth works, canned air spray is a bit more effective. Expect the dust to settle very quickly again so work fast: otherwise you will spend a lot of time removing hundreds of dust spots on your images with the clone stamp tool.
Setup and shooting UV photos
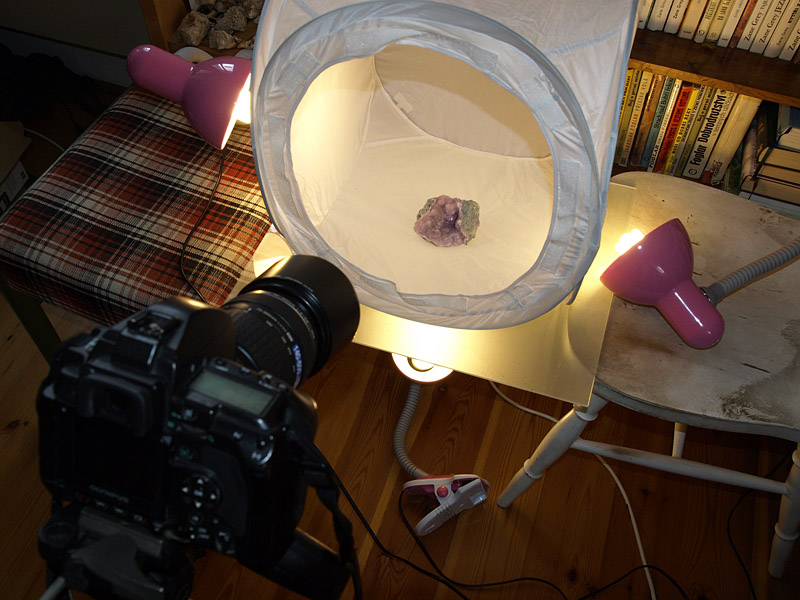
For UV photos, I use exactly the same setup as for the black background photos, except this time the tripod is a must. There are two main benefits: first, the black glass method works also for UV, there is no glow from the background itself and it’s easy to remove the dust from the glass. Second, it is very easy to produce shots in both visible and UV light with the following method.

Setup used for taking photos on black background can be used also for UV photos. Before taking UV photo do not forget to switch to manual focus (camera can’t auto-focus in the dark!) and manual exposure (automatic exposure metering doesn’t work in the dark). Then just switch the UV lamp ON and normal lamps OFF and press the shutter. Keep lighting the mineral with UV lamp till the end of exposure.
I start with the normal black background photo on black glass. Then I switch the camera to manual focus and refocus if necessary. Next I switch to manual (M) exposure mode, set the exposure (usually somewhere about f8 and 10-20 seconds) and set iso to 200. Then I turn the UV light on and switch off the normal lights, hold the UV lamp in proper position and take the picture. I usually repeat the UV photos several times with various exposures.
Do I need a UV filter?
Many people recommend using UV filter on your camera to avoid haze caused by the UV. This is not an issue with modern cameras as their lenses block most of UV and there is very strong UV filter directly on the sensor anyway.
What about white balance?
The white balance is an issue in UV photography as there is nothing like white reference – you simply have to set the white balance by trial and error. Most cameras are quite accurate even with auto white balance and you can also correct the colors later if you shoot in RAW format.
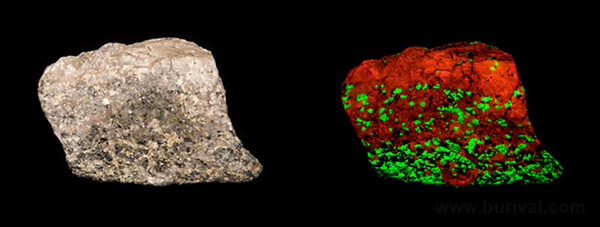
Calcite (orange fluorescence) and willemite (green fluorescence) from Franklin, New Jersey, USA. This photo was made by stitching photos made in both visible light and UV light with setup mentioned previously. Note the exactly same position of minerals.
How do I set exposure?
Unfortunately, there is no way to determine exposure automatically unless there is very bright fluorescence. Most samples are too dark for automatic exposure metering. You have to use trial and error method. Expect dozens of seconds with iso 200 and f8.
Editing UV photos
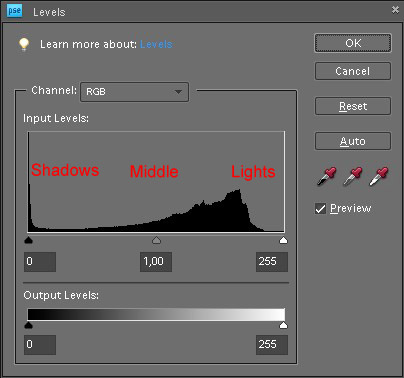
Generally, UV photos are edited the same way as the black background photos. Usually, just a small adjustment of the histogram is enough. You can also combine visible light and UV photos together or place them next to each other into one wide picture. You can do both of these combos because you shoot with exactly same position of both specimen and camera. Otherwise, it is very complicated to try to realign camera, light and specimen a second time.
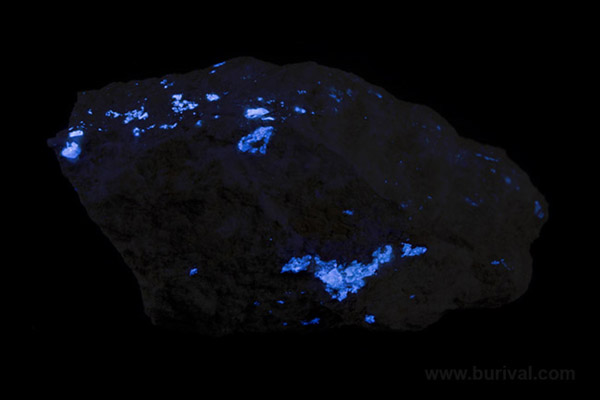
Rich scheelite tungsten ore from Kristina Adit, Kasperske Hory, Czech republic glows brightly in the UV light. You can make composite photos like this one by placing photo made in visible light over the UV photo and then decreasing the opacity of the upper layer to 10 – 15 %.


Leave a Reply