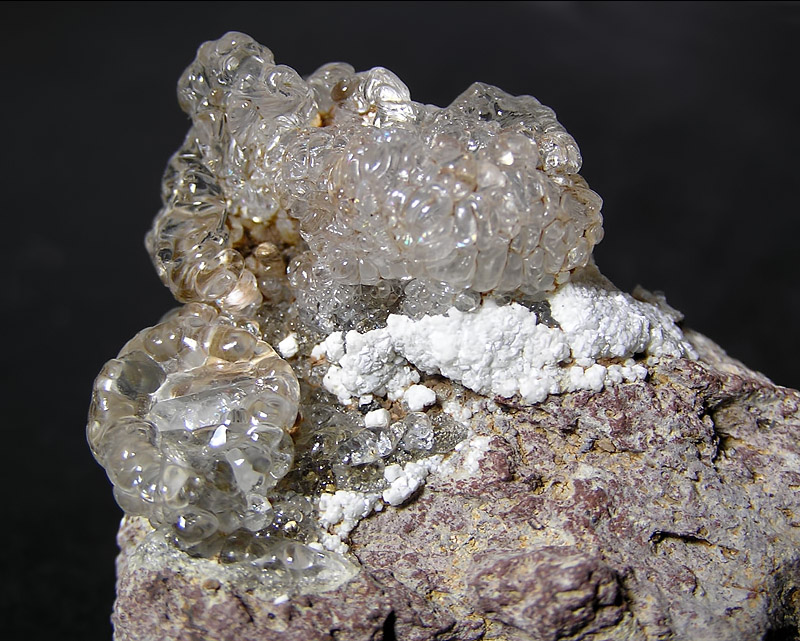
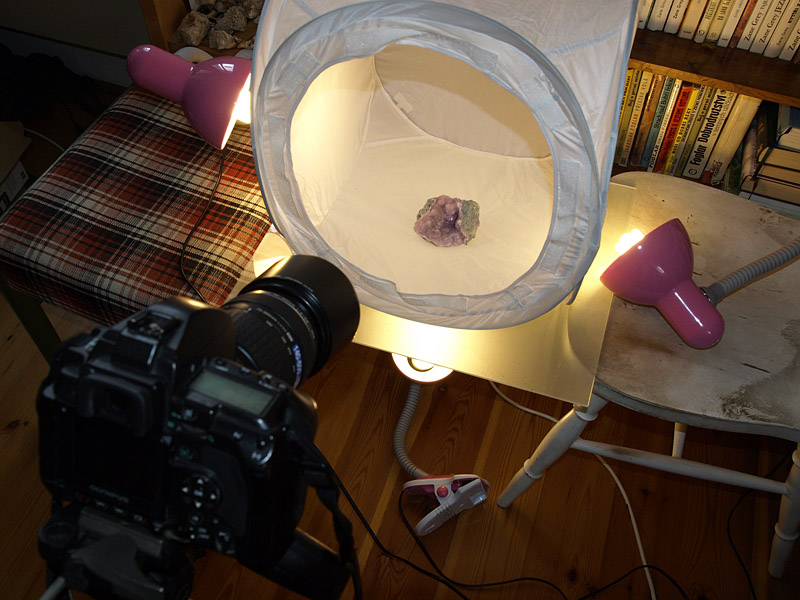
Black background looks simple but it works just great for most minerals. It doesn’t work very well for dark minerals like dark brown, gray or black. It looks like an easy solution but it is not. There are few common problems with getting really solid black background.
What doesn’t work and why
Forget about black paper, black book covers, black canvas, black velvet etc. – all of this doesn’t work. It is not black enough and unless using some advanced setup, there will be also problems with visible texture. You will usually get some dark gray background with ugly texture instead of solid black. I tried all of this and it simply doesn’t work well.

The picture above shows what usually happens with black paper background. It turns out as dark grey and it is irregular.
Black glass background
The easy and great working solution is piece of black painted glass. You can use any color in spray, one or two layers work just great. Of course you can buy black glass but that is the more pricy option. Glass is perfectly flat and provides really deep black color for perfect background. You can use one light source and reflector or two light sources. Just take care to have all unwanted reflections out of the frame.
Both pictures illustrate shooting on black painted glass in direct sunlight. The second setup include self-made reflector from cardboard and aluminum foil. This might seem primitive but this simple setup alone can improve your photos by 200%!
Black painted metal sheet background
If you need more portable and indestructible solution, piece of black painted metal sheet is the way. You can use either flat surface or get some with nice texture. Metal sheet can be slightly bent so you can also compose easier.
Getting rid of nasty reflections
Some reflections definitely can be creative but in many cases they just kill good picture. You can use circular polarizer filter (CPL) to avoid the unwanted reflections and get really deep black background color. Using CPL is not a must but it makes the job a lot easier.
The left picture shows typical reflection of mineral on glossy surface like glass. If you don’t like such reflection, you can use circular polarizer filter to avoid it. If you don’t have it or your camera lacks filter mount it could be removed later in photo editing SW. Simply choose black brush with soft edges and paint over the reflection.
Exposure problems
You must set your exposure metering to spot metering with all methods above. Black background is too dark and it fools most cameras exposure metering system. Result is severely overexposed mineral (completely blown out highlights) and gray background. Spot metering tells camera to get proper exposure for the mineral only.
Picture on the left shows typical result of integral exposure metering. The camera is fooled by huge contrast of the scene and tries to make some average exposure. Because the background area is usually much larger then mineral area, the result is seriously overexposed picture. To avoid this, set your exposure metering to spot or center weighted and it will work.
Final touch
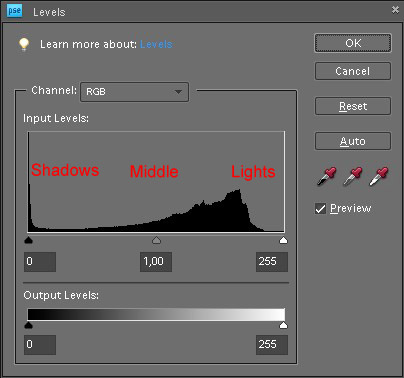
Technically, the straight out of the camera background consists of both really black and very dark gray. To get rid of the dark gray areas, you need to open the picture in some solid photo retouching SW like Adobe Photoshop or Gimp. Then choose levels and slightly shift the left slider (shadows) to the right – usually 3 to 5 levels are just fine. You can learn more about levels in Using histogram article. There also might be some unwanted reflections, scratches or dust visible. Choose the brush with soft edges, set the color to black and paint over the problem. Make sure not to paint over the mineral though.
The picture above shows exactly why postproces is a must. I was lazy and didn’t setup everything properly. This picture was shot in RAW so I could correct wrong white balance (too much of red), played with a levels to get dark background and finished dust spots and reflection with black brush. It sounds complicated but the whole task took less then 5 minutes.


Leave a Reply