The basic rule for the beginner is: Get as much of light as possible! It really doesn’t matter if it is sunshine or lamp but use the strongest light available. Lack of light is one of the most common problems which causes blurry images.
Powerful light sources
Great strong light source is direct sunlight, other option is strong lamp. Better 2 or 3 lamps. Your 20 Watt tabletop mini-lamp is not enough, you need something really strong. Common bulbs from 100 W up or equivalent halogen lamps work fine. I highly recommend starting with sunlight. Strong halogen lamps have huge energy consumption and produce lot of heat, common fluorescent tubes are weak and make problems with white balance. Pro bulbs for photography with daylight balanced color temperature are great, however they cost some serious cash.
Hard vs. soft light
Of course most photographers would argue that direct sunlight is too hard and produces harsh shadows. We will get to this later but definitely blurry images are much worse problem then high contrast. Simply first get as much of light as possible and solve the other problems later. Most specimens can be photographed in direct sunlight. Some of clear crystals, too complicated clusters or metallic minerals can’t and you have to use soft light.
Reflecting light to avoid harh shadows
The most simple way to avoid harsh shadows is to use reflector. You can buy some for few $$ on eBay or DIY it by glueing alufoil on cardboard. Play with the reflector and try to reflect the light into the shadow areas. Shadows will become lighter and it will make the picture much better. It needs some practice, you do not want to get rid of all shadows as this produces flat looking photos with no depth and structure. Sometimes 2 reflectors are needed.

Example of shooting on direct sunlight with DIY reflector from cardboard and aluminum foil.
Diffusing light
Sometimes the direct light is too harsh and reflector doesn’t help. You can use various kinds of diffusers to get nice diffused light. There are several methods but one fast, easy and cheap is called light tent. Description of light tent and its use is in the How to make solid white background article. There are other methods of diffusing. You can use thin semitranslucent paper, plastic, white umbrella etc. to get diffused light. Diffused light is a must for most metallic and highly lustrous minerals. All diffusers inhibit lot of the light – be sure there is enough light left or use tripod.

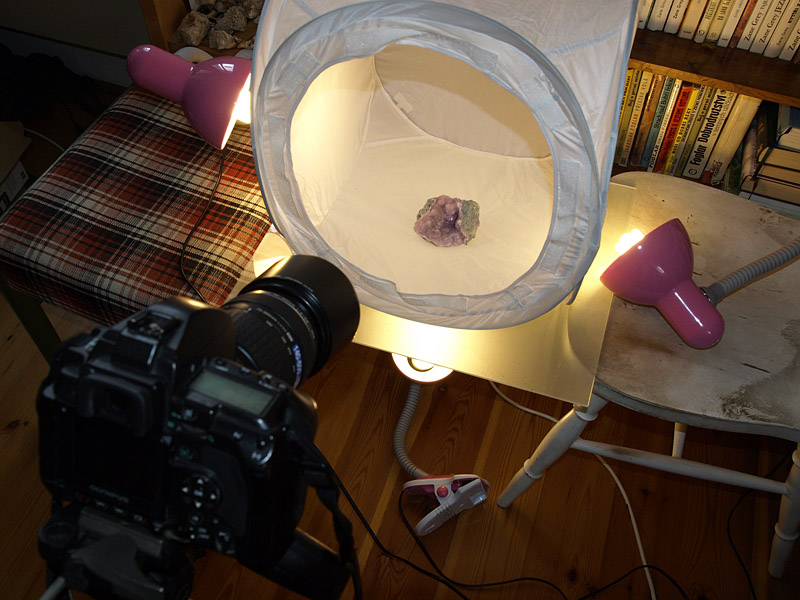
Light tent is very usefull, stupidproof and portable device. Here is advanced 3 lamps setup with tripod – all can be packed into one small 35 l city bagpack.
What if I can’t get enough light?
Then you have to use a tripod and everything gets little more complicated (or easier). It is much easier to compose without tripod but for some cases there is no other option. Shooting in light tent, serious macrophotography and UV photography are typical examples where you have to use tripod. If you have low light conditions, tripod stabilises your camera so you don’t have to worry about exposure times and shaky pictures. Many users do not understand how exposure time works and this is why many pros just say use tripod – it is easier then explaining exposure to beginners.

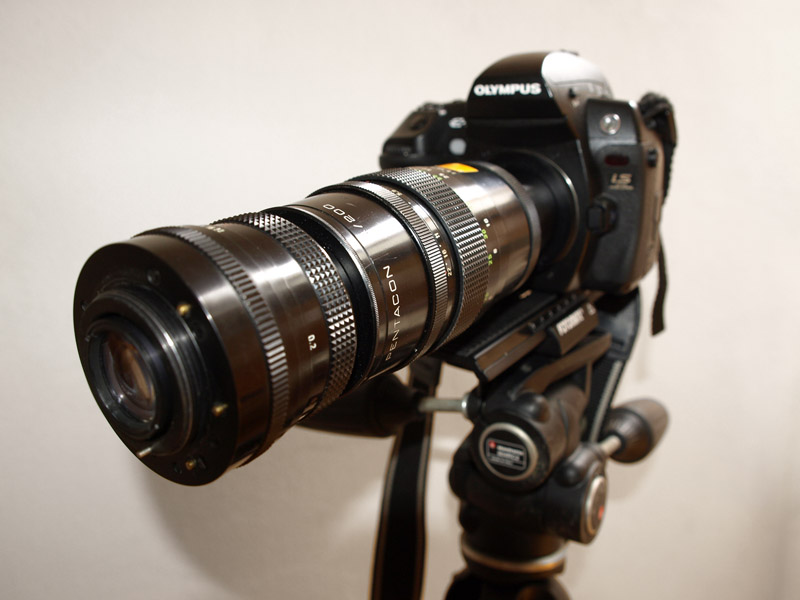
Example of reverse lens macro setup mounted on a heavy tripod with macro rails.


Leave a Reply