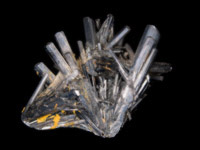
You have to properly downsize pictures to get nice thumbnails for your website. If you just resize full resolution to thumbnail size, the reult is quite bad. This article wil teach you how to downsize pictures for web in Photoshop Elements. The process is quite similar in all other programs.
Common problems
If you just open the full sized image in any editing software and simply resize it to smaller one, the result will be some ugly and blurry thumbnail. To avoid this, you need to sharpen your image first and then resize. You should use several smaller steps if you resize from full resolution to website or thumbnail size.
Left picture shows directly resized thumbnail and the right one properly sharpened and downsized thumbnail. You can clearly see the left picture is much worse. The diference is even more visible on larger 800 x 600 images.
How to sharpen?
First make sure how large your picture is. Most modern cameras produce pictures over 10 megapixels so we can assume at least 3600 x 2400 pixels. Go to menu Enhance and choose Unsharp mask. Small dialog box will appear with preview and 3 sliders. The first slider is for strenth of sharpening. I mostly use values between 40% and 80%. Second slider is for diameter, I usually use something between 0.8 and 1.5 for full size pictures. I recommend smaller diameter for pictures with fine details and vice versa. I highly recommend using diameter 0.7 or smaller for pictures under 1600 x 1200 pixels. Third slider is treshold and I usually set it to 1. If you let it be zero, it might increase the noise in the picture.

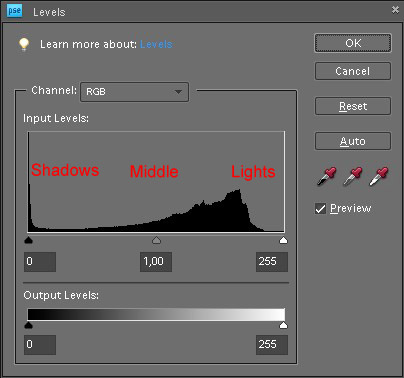
This is how Unsharp mask dialog looks like in Photoshop Elements 8.0. It looks very similar in most other programs. Be sure to set preview area to sharp part of picture.
And now proper adjustments. First set treshold to one and adjust diameter by the picture size and level of detail. For rough estimation use some values from above. Then set strenth to 40% and slowly drag it up till the moment when picture starts to look ugly. It usually looks like aquarel or even square pixels starts to be visible. The image degradation usually starts on bright colorful spots and edges. If this happens, drag a bit back to the level where picture looks just sharp enough without negative effects on image quality. If you can’t find proper strenth, try lowering a diameter little bit and repeat the process.
How to resize?
Go to the Image and choose Image size (not Canvas size!) or use shortcut Ctrl-Alt-I for Elements 8.0/Photoshop CS3 or newer. Make sure the units are set to pixels, resampling method should be bicubic sharper and all checkboxes should be checked. Set the long side and the shorter will adjust automatically. Then just click ok and thats it. Don’t mess with DPI, they have no real meaning for your browser. Just leave it as it is.

On the picture is example of resizing dialog box in Photoshop Elements 8.0. Check full sized picture to see all settings. Resizing dialogs looks quite similar in most programs.
Full resizing process
This is my own way to resize, feel free to modify it as you need. First sharpen the picture, then resize long side to 1600 pixels. Sharpen again and resize long side to 800 pixels. This is the size I use for most of my web projects. To get full sharpness apply smaller sharpening again after downsizing to 800 pixels width and then save. I highly recommend 80% quality or 9 (from 12) quality in Elements/Photoshop for JPEGs. Result is a bit bigger but it is really sharp. Then I sharpen again and resize long side to 200 pixels. This is my thumbnail size. Sharpen and save as copy (you don‘t want to overwrite your websize picture!).
The previous procedure is a bit too slow but the result is worth it. Use automatic actions if you have Photoshop or other powerfull software. You can record the way of resizing with most common settings and then apply it to whole folder of images. This saves a lot of work. Check manual or help of your software for further help, details of automatic actions are beyond this article.


Leave a Reply